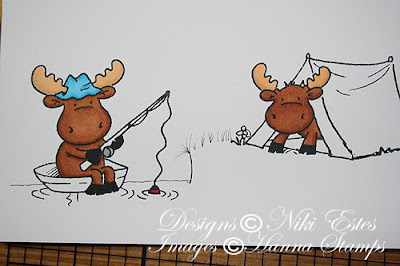
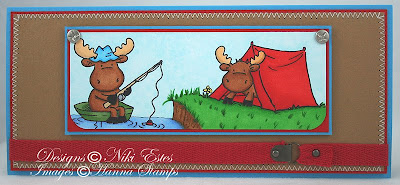
I just love the Riley moose stamps! They are some of my favorite stamps to color and I'm always ready for the next ones to come out. A few weeks back, there was a challenge on the Hanna Forum to combine two different stamp sets. I didn't get a chance to do the challenge, but had the idea to combine the Fishing Riley and Tent Riley. I finally got a chance to make my card last week. Click on the photo to see a larger image.
I started out by stamping my images and coloring them. Then, I rounded the bottom corners and matted the image. I pierced some holes to put my screw brads in. Then, I created my card base and bottom layers. I sewed the layers together. Then, I wrapped my twill around the card and attached it with some hardware and brads. I added my cardstock layers to the card and added my image using dimensional adhesive.
There are quite a few different ways to color using copic markers. I thought today I would share my process of coloring my images for this card. You will notice that it's a lot of using the same steps over and over when you're coloring each part of your image.
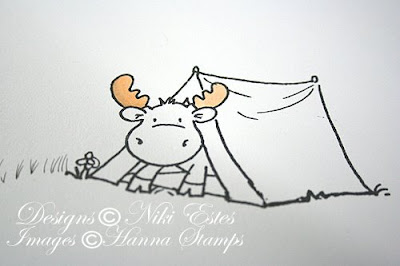 First, color the antler in with the lightest marker color. You can see how it's much lighter than what it will be when it is finished.
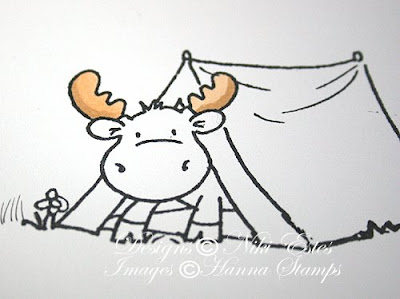 Next, create some shading using the second marker. It doesn't look very good yet because it isn't blended.
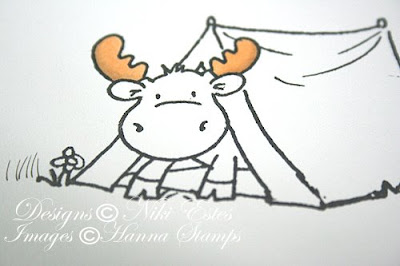 Blend the two colors together by going over the entire antler using the lighter marker until the colors are nicely blended. You can go over the area repeatedly because the marker won't pill the paper, which is one of the beauties of using an alcohol based marker. If you want more shading after you've blended the colors, you can add a little more of the darker marker by either touching the tip of the light marker to the dark one and coloring or just lightly add more with the darker marker. You can always go over them again if you don't like the results and you can make them lighter using the colorless blender marker (which takes color away).
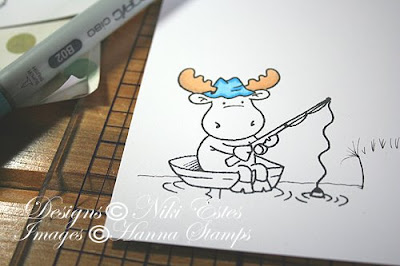 Color the antlers on the second moose. Then, color the Fishing Riley's hat with a light blue and add the shading with a darker blue.
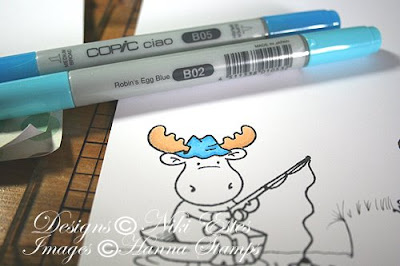 Blend the two blues the same way we did the antlers using the light blue marker.
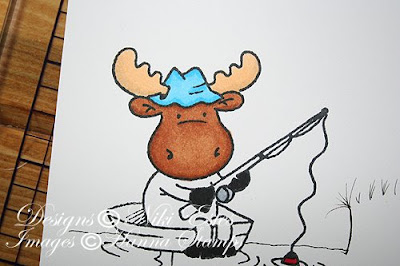 Color Riley's hooves using a black copic marker. Color the fishing bobber using a red marker and color Riley's head using brown markers. This is the look we are going for with Riley's body (just for reference).
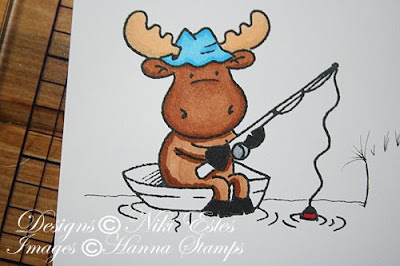 (None of the photos show the brown markers I use, but I usually use E33 and E37 when coloring my moose and that is what I am using here.) Start coloring Riley's head and body by coloring first with the light brown. Shade with the darker marker.
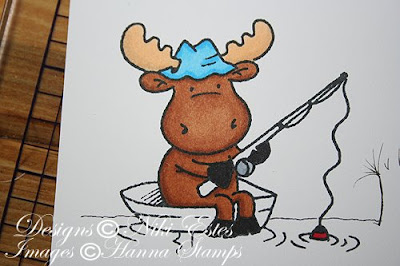 Blend using the lighter brown marker. After blending, if you need to, add more shading using the darker marker.
 Color the Tent Riley using the same techniques (light color first, shade with darker color, blend with lighter color). Color his hooves black.
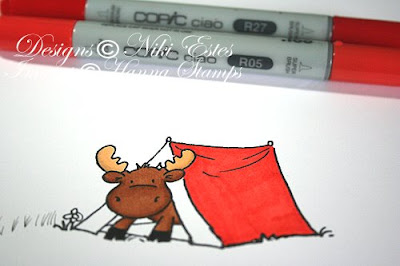 Next, I started coloring the tent. I colored the tent using my lighter color (R05). You can see that I'm not using markers close in shades, like say R02 and R04 (I don't know if those are real colors since I just made some up). Instead I'm using an orange red and a dark red. The reason it works is because you can blend so much by just adding another layer until it's how you like it.
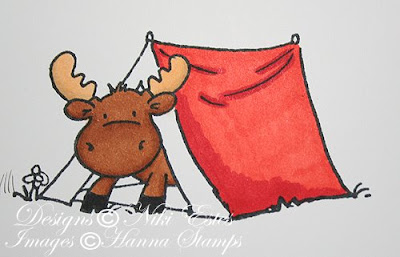 Add shading using the darker red (R27). I add shading where I think the shadows would be, like the lower part of the tent and the spots where the tent sags a bit.
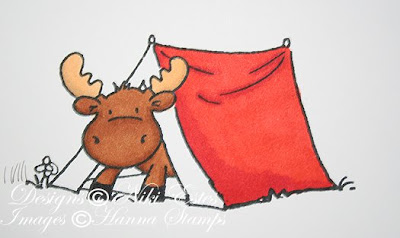 Blend by going over the image using the lighter marker. This is after one layer with the lighter marker. You can see that it needs to be blended more where the shading is so just go over it again until it looks nicely blended.
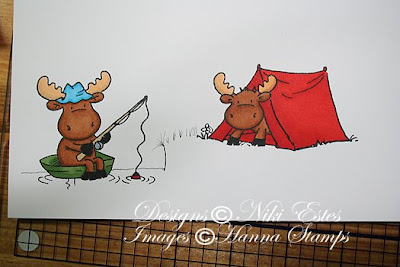 Color the rest of the tent and Fishing Riley's boat using the same process.
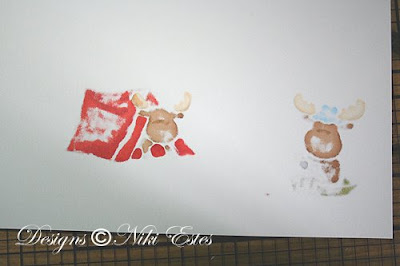 I thought I would show you what the back of my cardstock looks like at this point. Even with very thick cardstock, the back of your cardstock should look like this if you are blending enough.
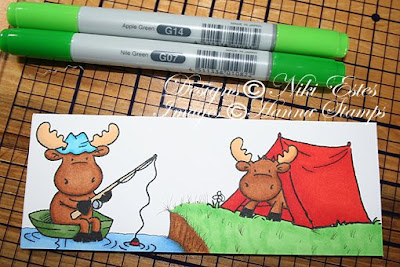 I cut out my image before I started color the water and grass so that I wouldn't be wasting ink. I used my copic multiliner pen to add more grass and lines in the river bank. Next, color your water around the boat using light and dark markers. I added shading where the water ripples, under the boat and at the water line by the river bank. Then, I colored the river bank using two brown markers. For the grass, start the same way by coloring it with the light green.
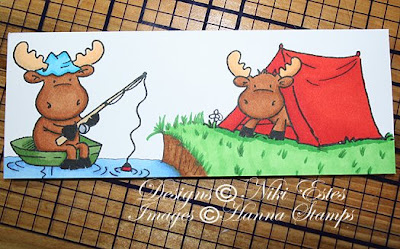 Shade using the darker green marker. I added some darker green to my grass that I drew in with the copic multiliner pen and under the tent.
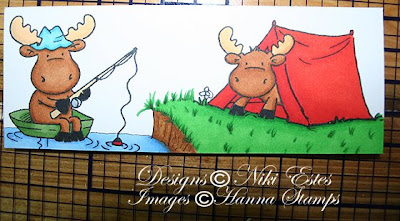 Blend the greens by going over them with the lighter green marker until it is well blended. Go back with the darker green marker to add a little more to the grass and right under the tent.
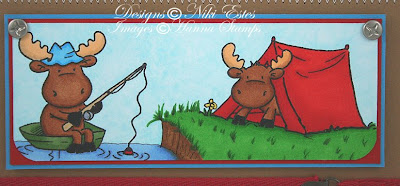 Last step is the sky. Go over the entire sky using small circular movements using a blue marker (usually I use B00 like I did here). Then, go over the sky using the colorless blender to blend the area. It will take away some of the color and make it look more even. If you end up with a spot that needs a little more color, touch the tip of your blender marker to the blue marker. That will give you a little bit of light blue that you can use to fill in the spot. You may need to touch the tips a few times to get it like you want it.
I would love to hear what you think and see your creations. If I need to be clearer about something or something doesn't make sense, please let me know. Thanks for stopping by and have a great day!

Recipe


32 comments:
Awesome card, Niki! You made a great Riley scene and tutorial.
Ohhh........Niki this is a WONDERFUL card!! Those two stamps sure do go perfectly together!!! Your coloring is gorgeous!! Thanks for your detailed coloring tutorial....I'm so new at attempting to use my Copics and I'm not very good with them!!!! LOL
WOW! This is awesome! First of all thanks for sharing how you colored it! Secondly, the scene you created is amazing!
I never would have thought about blending with the light/dark/light way! This was a wonderful tutorial and I learned a lot about copics. Now I want more of them! Thanks so very much for sharing! And your card is great!
Niki, great tutorial and I love your card it's amazing.
Wow! Your coloring looks amazing! Beautiful card! TFS!
you are AWESOME!!! Thank you for this tutorial. I have been trying to figure out blending and have been doing it all wrong!
Great tutorial Niki. Now I'm ready to try it with my markers. Thanks so much. Alice
Niki,
Thank you so much for the tutorial. I have a whole box full of Copic Markers and never knew how to get the best use out of them. Now I am ready to go home (from work) and play.
Hugs,
Lori
Love the card. Thanks for the tutorial. You make it look so easy. Now I need more copics.
Amazing tutorial! It was so easy to follow with the step-by-step instructions.
Girl, that was an awesome tutorial. Love the Riley camping scene..Have a wonderful weekend. Chris
Great tutorial. When I am using my copic markers, periodically the ink seems to pool on the tip and it drips off the end when I am coloring. This recently happened when I was coloring small leaves and the glob of ink ruined my image. Do you have any suggestions for why this might be happening? Thank so much.
Debbie Porter
porter12@msu.edu
Niki this is a fantastic tutorial. Makes me feel better because I know I am doing it right!!!
I love the 2 stamps combined, they are so cute!!
Niki, girl your an artist this card is gorgeous!!
What a great tutorial! Thanks for sharing how you do it. Nice job on the card too.
What a gorgeous card and awesome tutorial...........you rock!!!!
Vicki
wow -you are totally rocking the Copics. Niki!
Wow--Great job on this Niki! I just finished one for CPS and I KNOW that it takes a while to do this--thanks!
Thanks for sharing your tips and techniques, Niki. I did pick up some good tips here and I will definitely have to get that black multiliner pen. I can see now that I NEED it!
Whoa. That is amazing how it all comes together. Thanks!
Thank you so much for your tutorial. I have not yet purchased any of the Copics. I am afraid that once I try them I would want more....I love the effect and look of your work. Thanks for your tutorial...I do like the pictures so I can absorb each step clearly.
I just love Riley and think that I could learn to use Copics from your tutorial. Thanks so much!
Great tutorial Niki!! too bad I didn't see this the other night - I was trying to figure out my blending and this would have been perfect. Got it saved now!! :)
I love your artistic talent AND you have such a gift at teaching. I'm the type you have to explain EVERYTHING to. Thanks so much!!!
Beth S
cardgames scs
I just got my Copics and tried them out for the first time today. I wish I had read your tutorial FIRST. Now, I will go practice somemore and, using your instructions, I know I will get better---I am already LOVING my Copics!!!!
Thank you so much for this beautiful detailed tutorial! Your coloring is amazing!
Great class, Niki! Thanks so much! I use Prismas, but the technique is just the same! babies~ Beth
Great tutorial. Glad it was available to view. (I realise your blog has moved) I've got my 1st Copics today in a RAK & Goggled Copic Tuts & it lead me here.
Thank you for all your hard work & for sharing your techniques.
Take care. Gez.x
Wow! I think this tutorial is very useful because I am learning how to use a copic marker as well. =)
Niki, Your tutorial is awesome and I have to say Riley is my fav also I think I have about 11 of them. Please keep up with the tutorials I love Copic's but learn something new everyday.
God Bless,
Jeanine
That is a great tutorial. I am adding you to my favorite blogs. I have a question that I haven't been able to find an answer to: can you blend green and red together to make another shade? is that possible with copics?
Post a Comment